How to Post
Follow along as I show you how our fictional tester “Jane.Doe” posted the Example Post.
After you Login, the WordPress dashboard will be displayed. In the left column, you’ll see these navigation options.

Choose Posts > Add New.
Your screen should look like this.
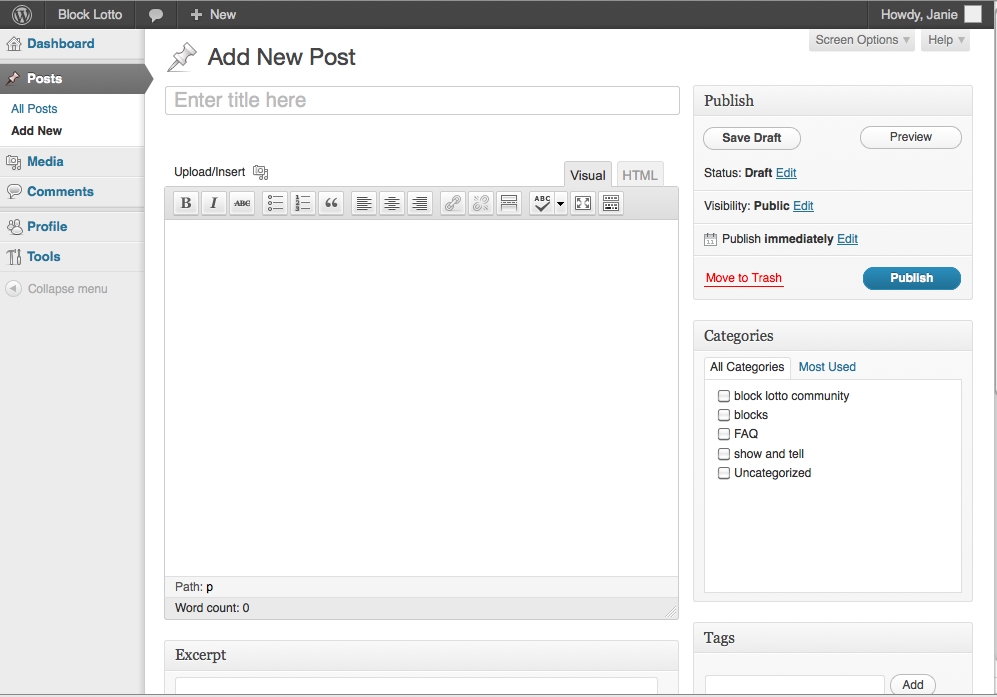
Enter a title for your blog post and the text message.
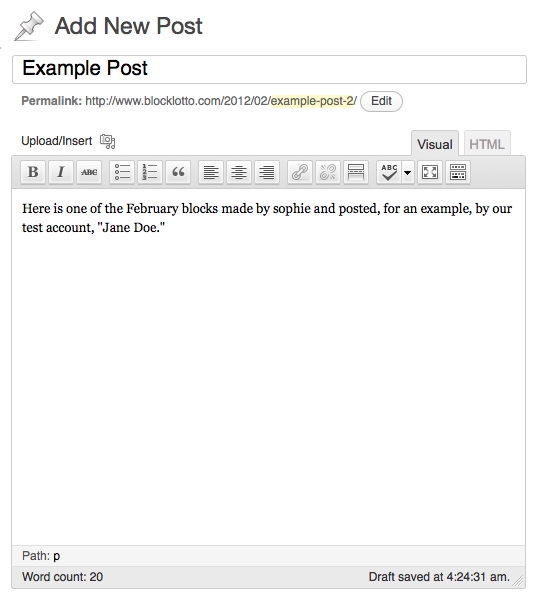
Position the cursor in the place you want to insert your photo. Then click the Upload/insert multimedia link (with camera icon) above the message box. An Add Media pop-up will be displayed.
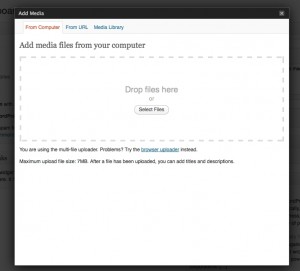
You can drag your image file(s) into the box or click Select Files to choose them. You will see a status bar as the file(s) load. When your media has been added, you will see a list (if you uploaded multiple files) or the image and properties of your photo, if you only added one.
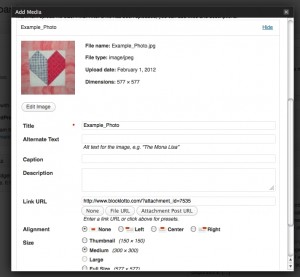
You can add alternate text (which is used by screen readers for the sight impaired), a caption (if you want one) and can select the desired alignment and size. Scroll down to select the button labeled “Insert into Post.” You will be returned to your post with your photo inserted.

Once your content is complete, there are a couple more settings and “extras.”
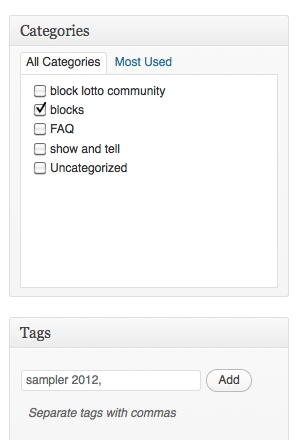 On our old blog, we had labels. Here we have Categories and Tags.
Choose a category for every post. If you are posting a block photo of discussing the monthly block, choose “blocks.” For posts about mailing blocks or receiving blocks, UNCHECK blocks and choose “sent and received” (not shown in the example, sorry–apparently I accidentally deleted it, but it’s back now). If you are posting a quilt or other project made from or inspired by lotto blocks, choose “show and tell”
The category determines where the post will be displayed or linked in addition to the blog. Photos of the most recent “blocks” are displayed on the home page in Recent Work. “Show and Tell” photos will appear in the Home Page slider and on the Gallery Page.
Tags are equivalent to the labels we know and love. When you begin typing in the box, options will appear for you to choose an existing tag. Be sure to click the Add button to add the tag to your post.
After you have added your tag(s), they will appear in the Tags box like this.

There is one more step that makes your photo show up on the home page and main blog page and if you have included multiple photos in your post, allows you to pick which photo is featured in those places.
NOTE: it is no longer necessary to use the Custom Fields to accomplish this.

In the bottom right corner of the page, there is an area labeled “Featured Image,” with a link to Set featured image. Click the link.
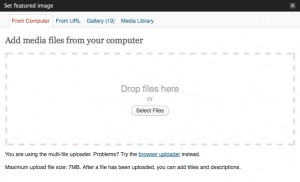
The Set Featured Image window will be overlaid on your screen. The image file(s) you have added to your blog post are included in the Gallery, so you just need to choose the Gallery link at the top of the window and, if you have more than one photo in your post, click the show button for the image you want to use as your featured image.
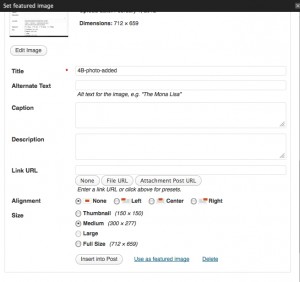 When the details of your selected image are displayed, scroll down to find the link to “Use as featured image.” Then click (you may have to scroll some more) the Save All Changes button and close the window.
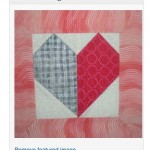
When you return to the new post page, your selected image will be displayed in the Featured Image section.
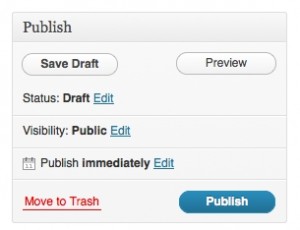 All that is left now is to PUBLISH your page. Click the Publish button in the Publish section of the page.
This section also has options to save a draft, or schedule your post to publish at a specific date/time.
It’s also where you can “Move to Trash” if you decide you want to start over 😉
After you publish your post, you will see a confirmation message at the top of the page, with a link to view your new post.

If you click the View Post link, you’ll be taken to the full page version of the post.
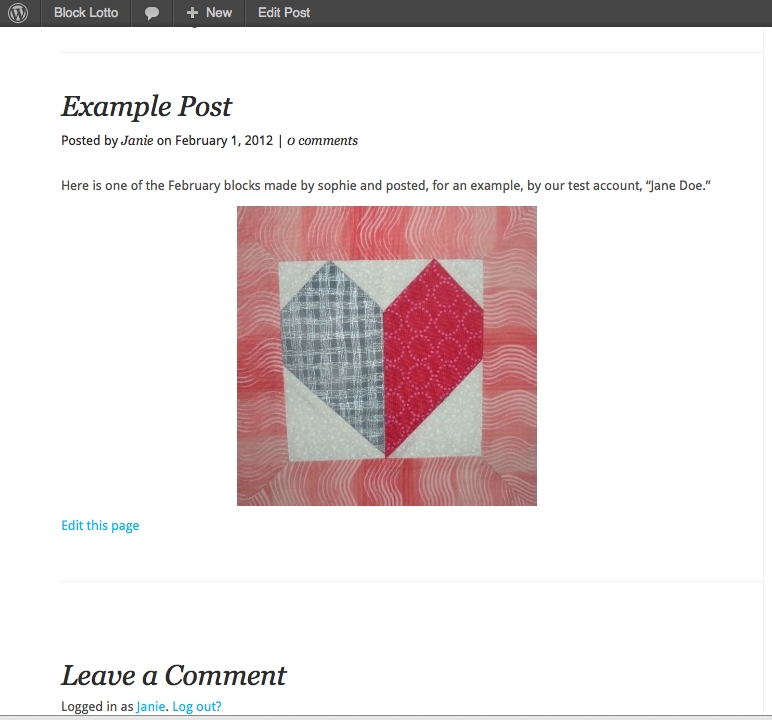
If you click the Blog link in the top navigation on the page, you’ll see the post in the list of blog posts (with the designated “Thumbnail” photo).

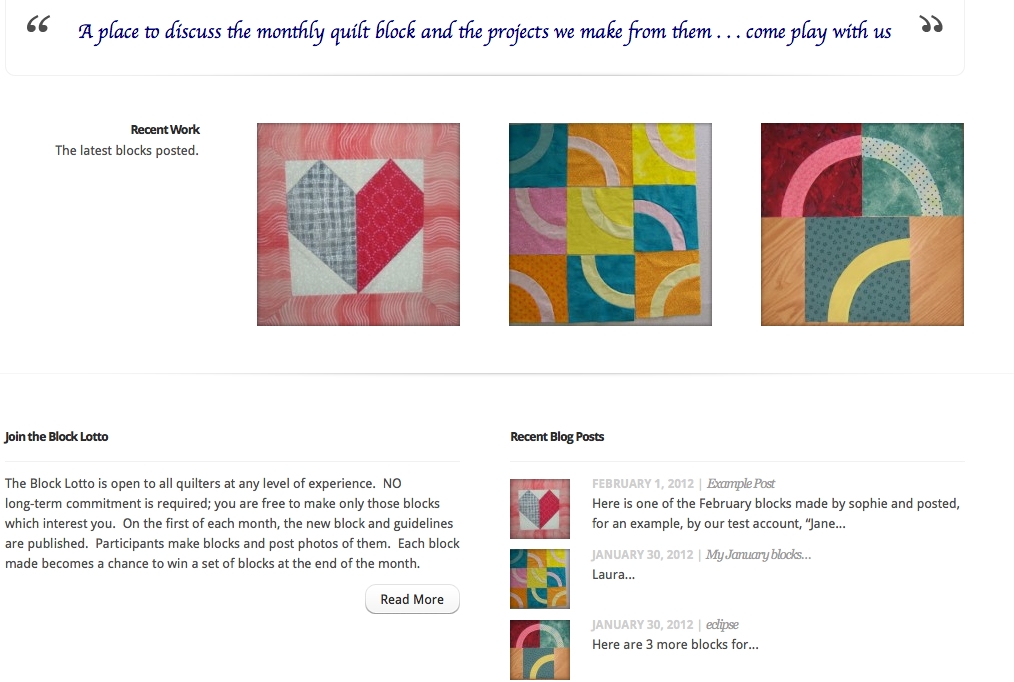
And it should also appear on the Home Page. If you posted a photo of a block, the photo should show up in Recent Work. And the blog post, with the photo, should appear in the list of Recent Blog Posts.

Okay, I think I got that. I had already discovered the sidebar and posts and some other things, but the whole photo thing is different.
The Thumbnail photo is related to how the Theme we’re using works. It does seem a bit clunky, but I think it will be worth it to have things auto-magically show up on the home page, on the gallery page, etc. We’ll see, I suppose.