Turning Windows into Skyscrapers – a Setting Idea
I was catching up with the Block Lotto this morning and one of the quilt designs from Tula Pink’s City Sampler, 100 Modern Quilt Blocks popped into my head and seems to be a perfect match for this month’s lotto blocks.

Clicking the book image will take you to Amazon. If you like the geometric blocks we are making this year for the Block Lotto, you might want to check out the block patterns in this book.
This is the Skyline quilt from the book. I think a similar layout would be a good one for the Little Windows blocks, turning them into black and white skyscrapers with lots of colorful windows.

Tula Pink’s Skyline Quilt, Quilted by Angela Walters
This 66 by 89 inch quilt is made from seventy 6 inch sampler blocks.
Upper Midwest Woodcarver & Quilt Expo in Blue Earth, MN 8/15-17/2014
I hope I have the right category as there will be Block Lotto quilt(s) at the Expo and Block Lotto members are going to be there with their other quilts, too. The Expo is unique as it combines 2 folk art traditions, woodcarving and quilting. It’s also an open show welcoming all quilts; old & new, beginner & expert, traditional & modern, small & large, near & far, yours or someone else’s. Every quilt has a story!!! Several special exhibits, vendors, demos, featured quilter, door prizes, Boutique, great food, tours and special events!
Friday Night Jelly-Roller Derby Xtreme!!!!! Watch rock ’em sock ’em sewists use just 1 sewing machine, 1 scissors, 1 jelly roll AND new this year, at least 15 and up to 40 2.5″ squares make a quilt top in less than 2 hrs!! Join the fun! Bring a cheering squad!
Saturday 9 AM – 11 AM Wool Work Class $20 Bring a scissors & large eye needle, if you can.
Saturday 2 PM – GUDRUN ERLA of GE Designs trunk show!! Gudrun is a brilliant young designer of quilts, kids wear, home dec with several books, patterns & fabric lines. A new line is coming out in Aug. & a new book next year so get a preview of her designs that blend traditional Icelandic sensibility with modern attitude.
Friday, Aug 15th 4 PM – 8 PM Free Snacks! Saturday, Aug. 16th 10 AM – 5 PM Sunday, Aug. 17th noon – 4 PM $4 daily or $6 for ALL 3 days, heck of a deal. Under 12 FREE! Bring those future quilters! Blue Earth Area High School just south of the intersection of MN Highway 169 and I 90 on the east side of 169.
If you are going on the MN Shop Hop, stop by and be inspired! I hope to see you there, it’s worth the drive!
A Color/Setting Idea for Spokes (as snowflakes)
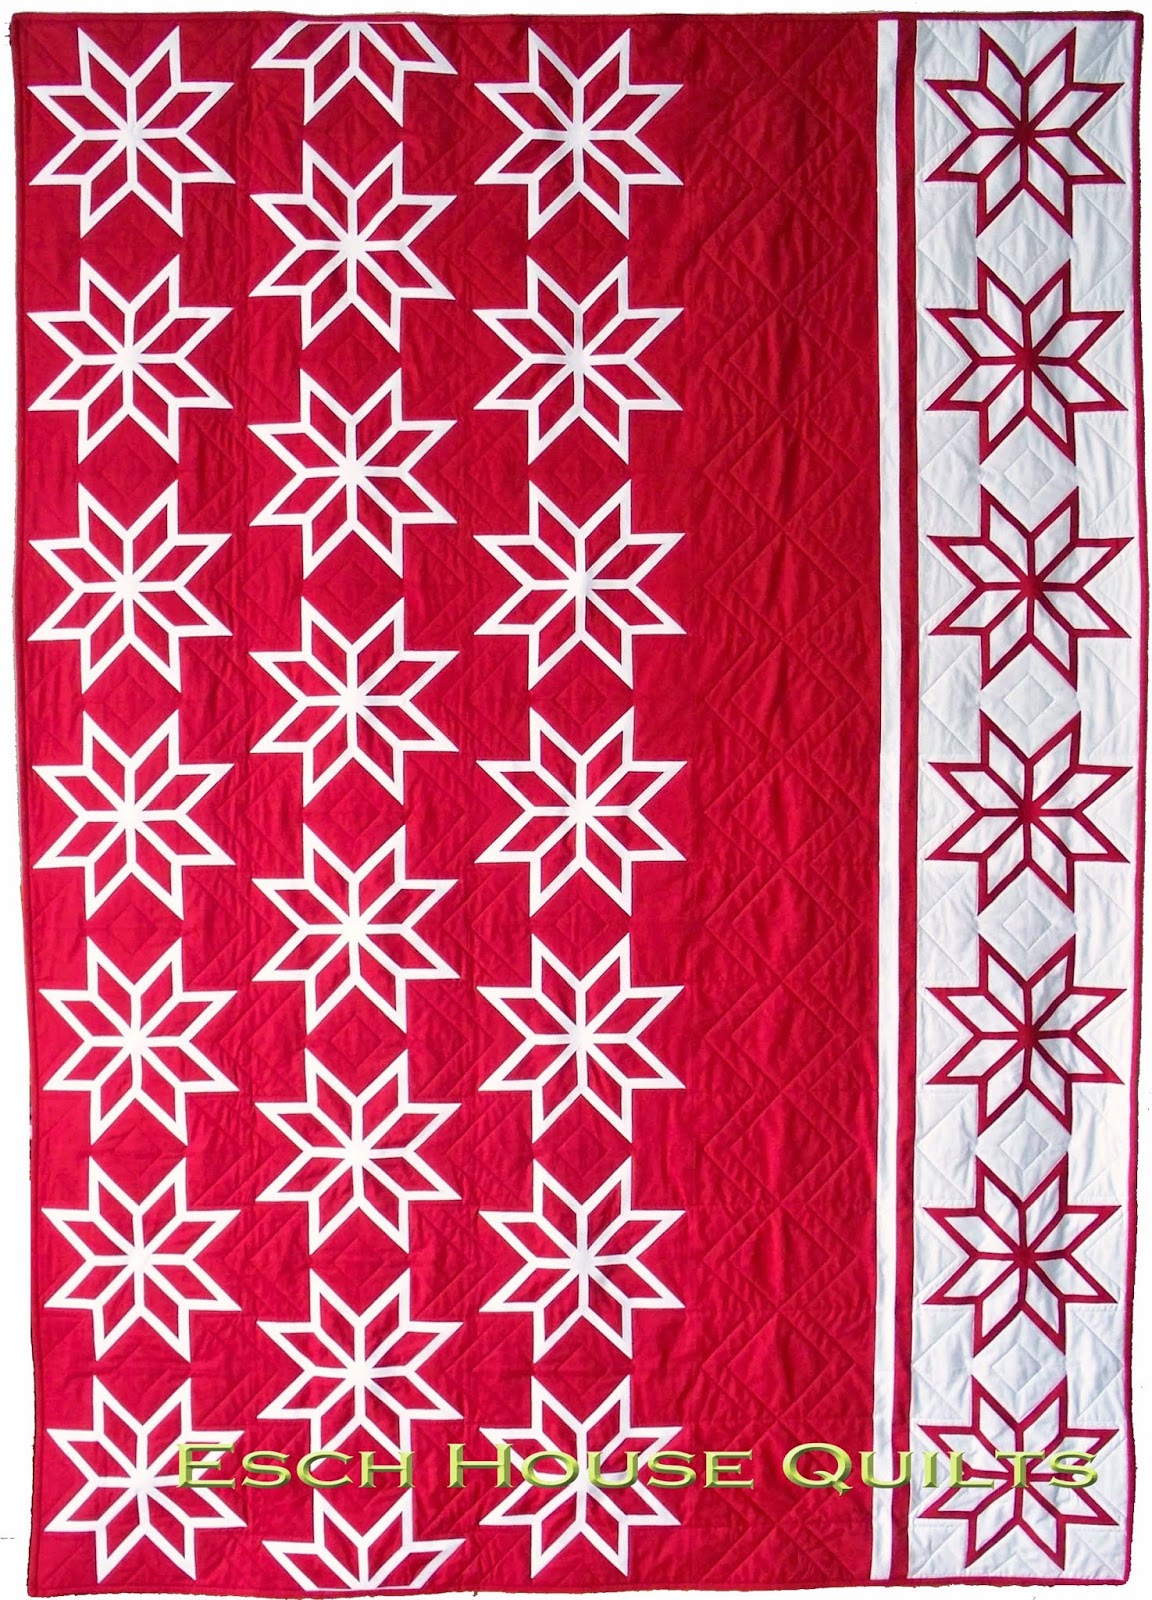
When I saw this quilt design by Deb Grifka, called Holiday Sweater, I knew that personally, I would never do all that machine appliqué, but … I might make some spokes blocks, mostly white spokes on a given color, a few with the colors reversed, and run with the color/setting idea to create a holiday sweater quilt of my own.
more house block ideas

Sept-October 2014
For those of us who have enjoyed the house blocks on this site over the years, I thought I would mention that the newest issue of Quiltmaker features quilts with house blocks of various types. There is a nice 2-story house with gables designed by lori Holt, and a traditional house block combined with an Irish chain. you may enjoy browsing it at your nearest magazine stand.
[added by Sophie]
Linda made me go looking online for images.
I found the magazine cover image, and these photos of some of the house quilts inside on the Quiltmaker site.


Have You Noticed?
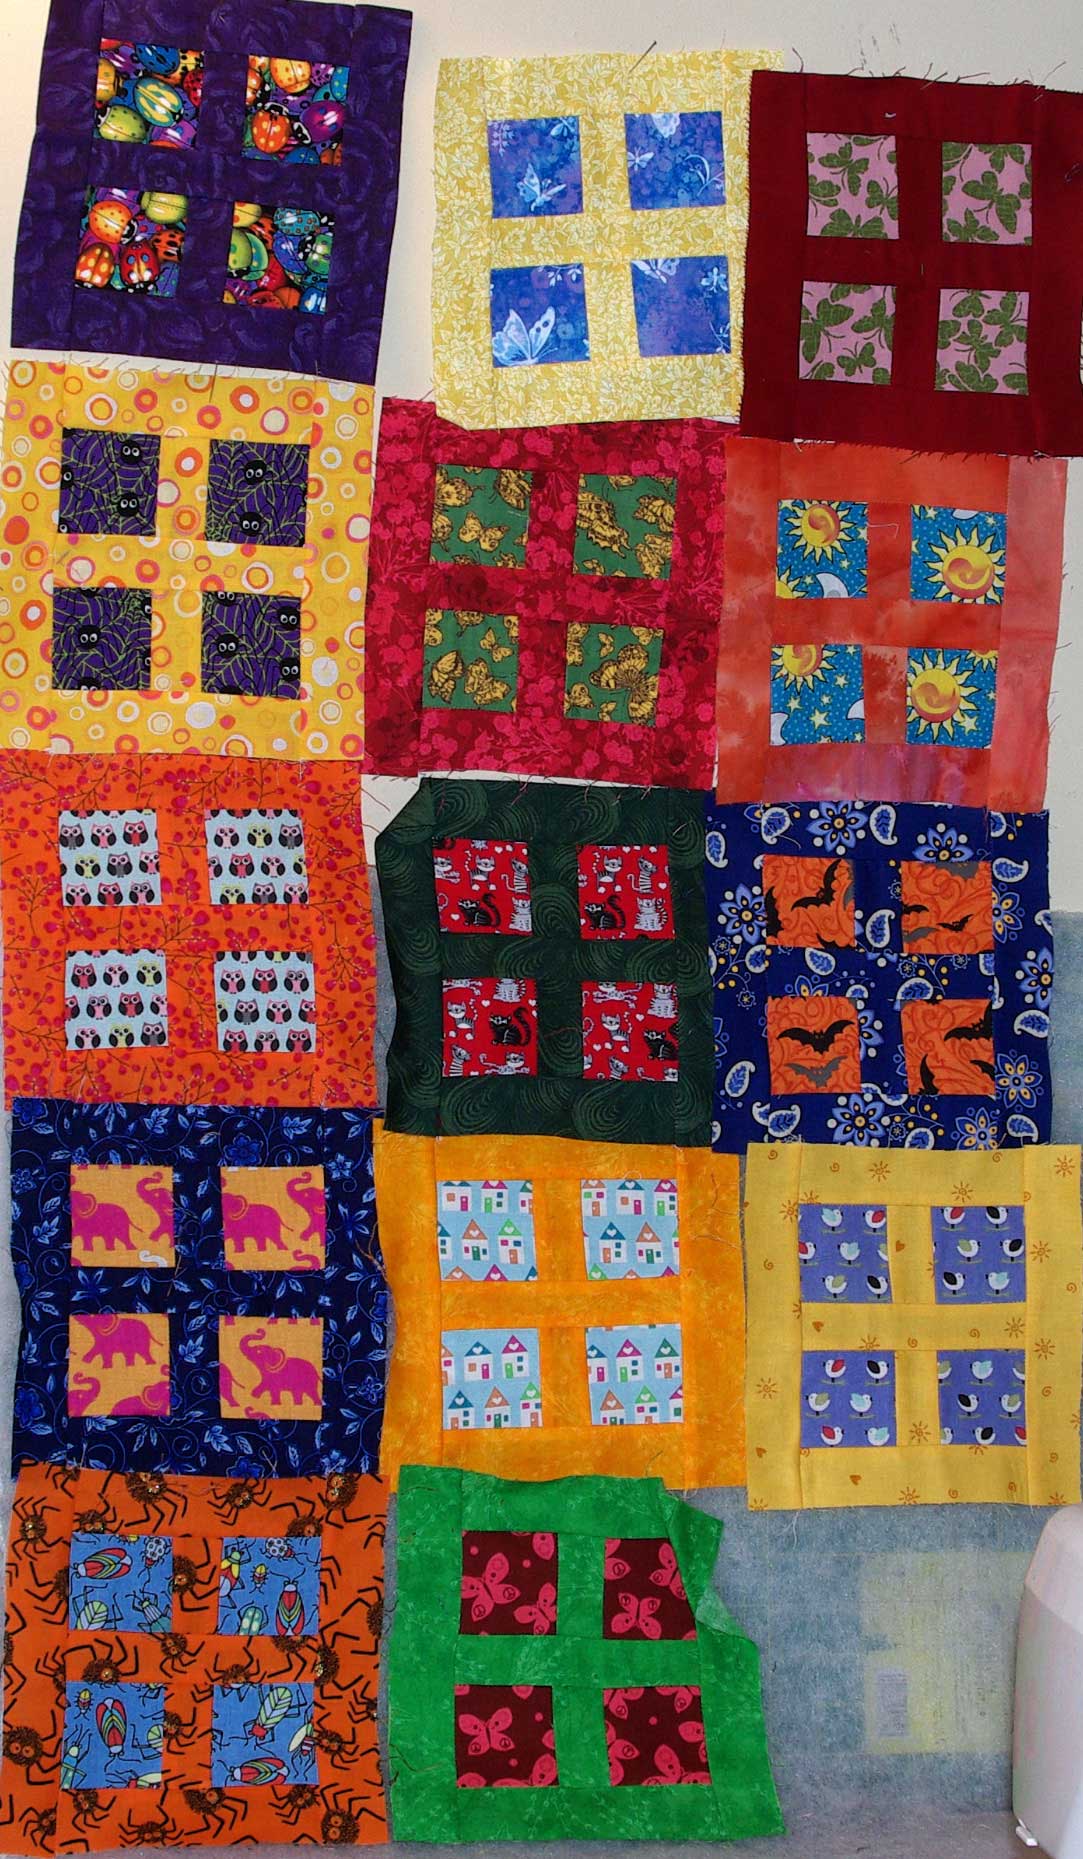
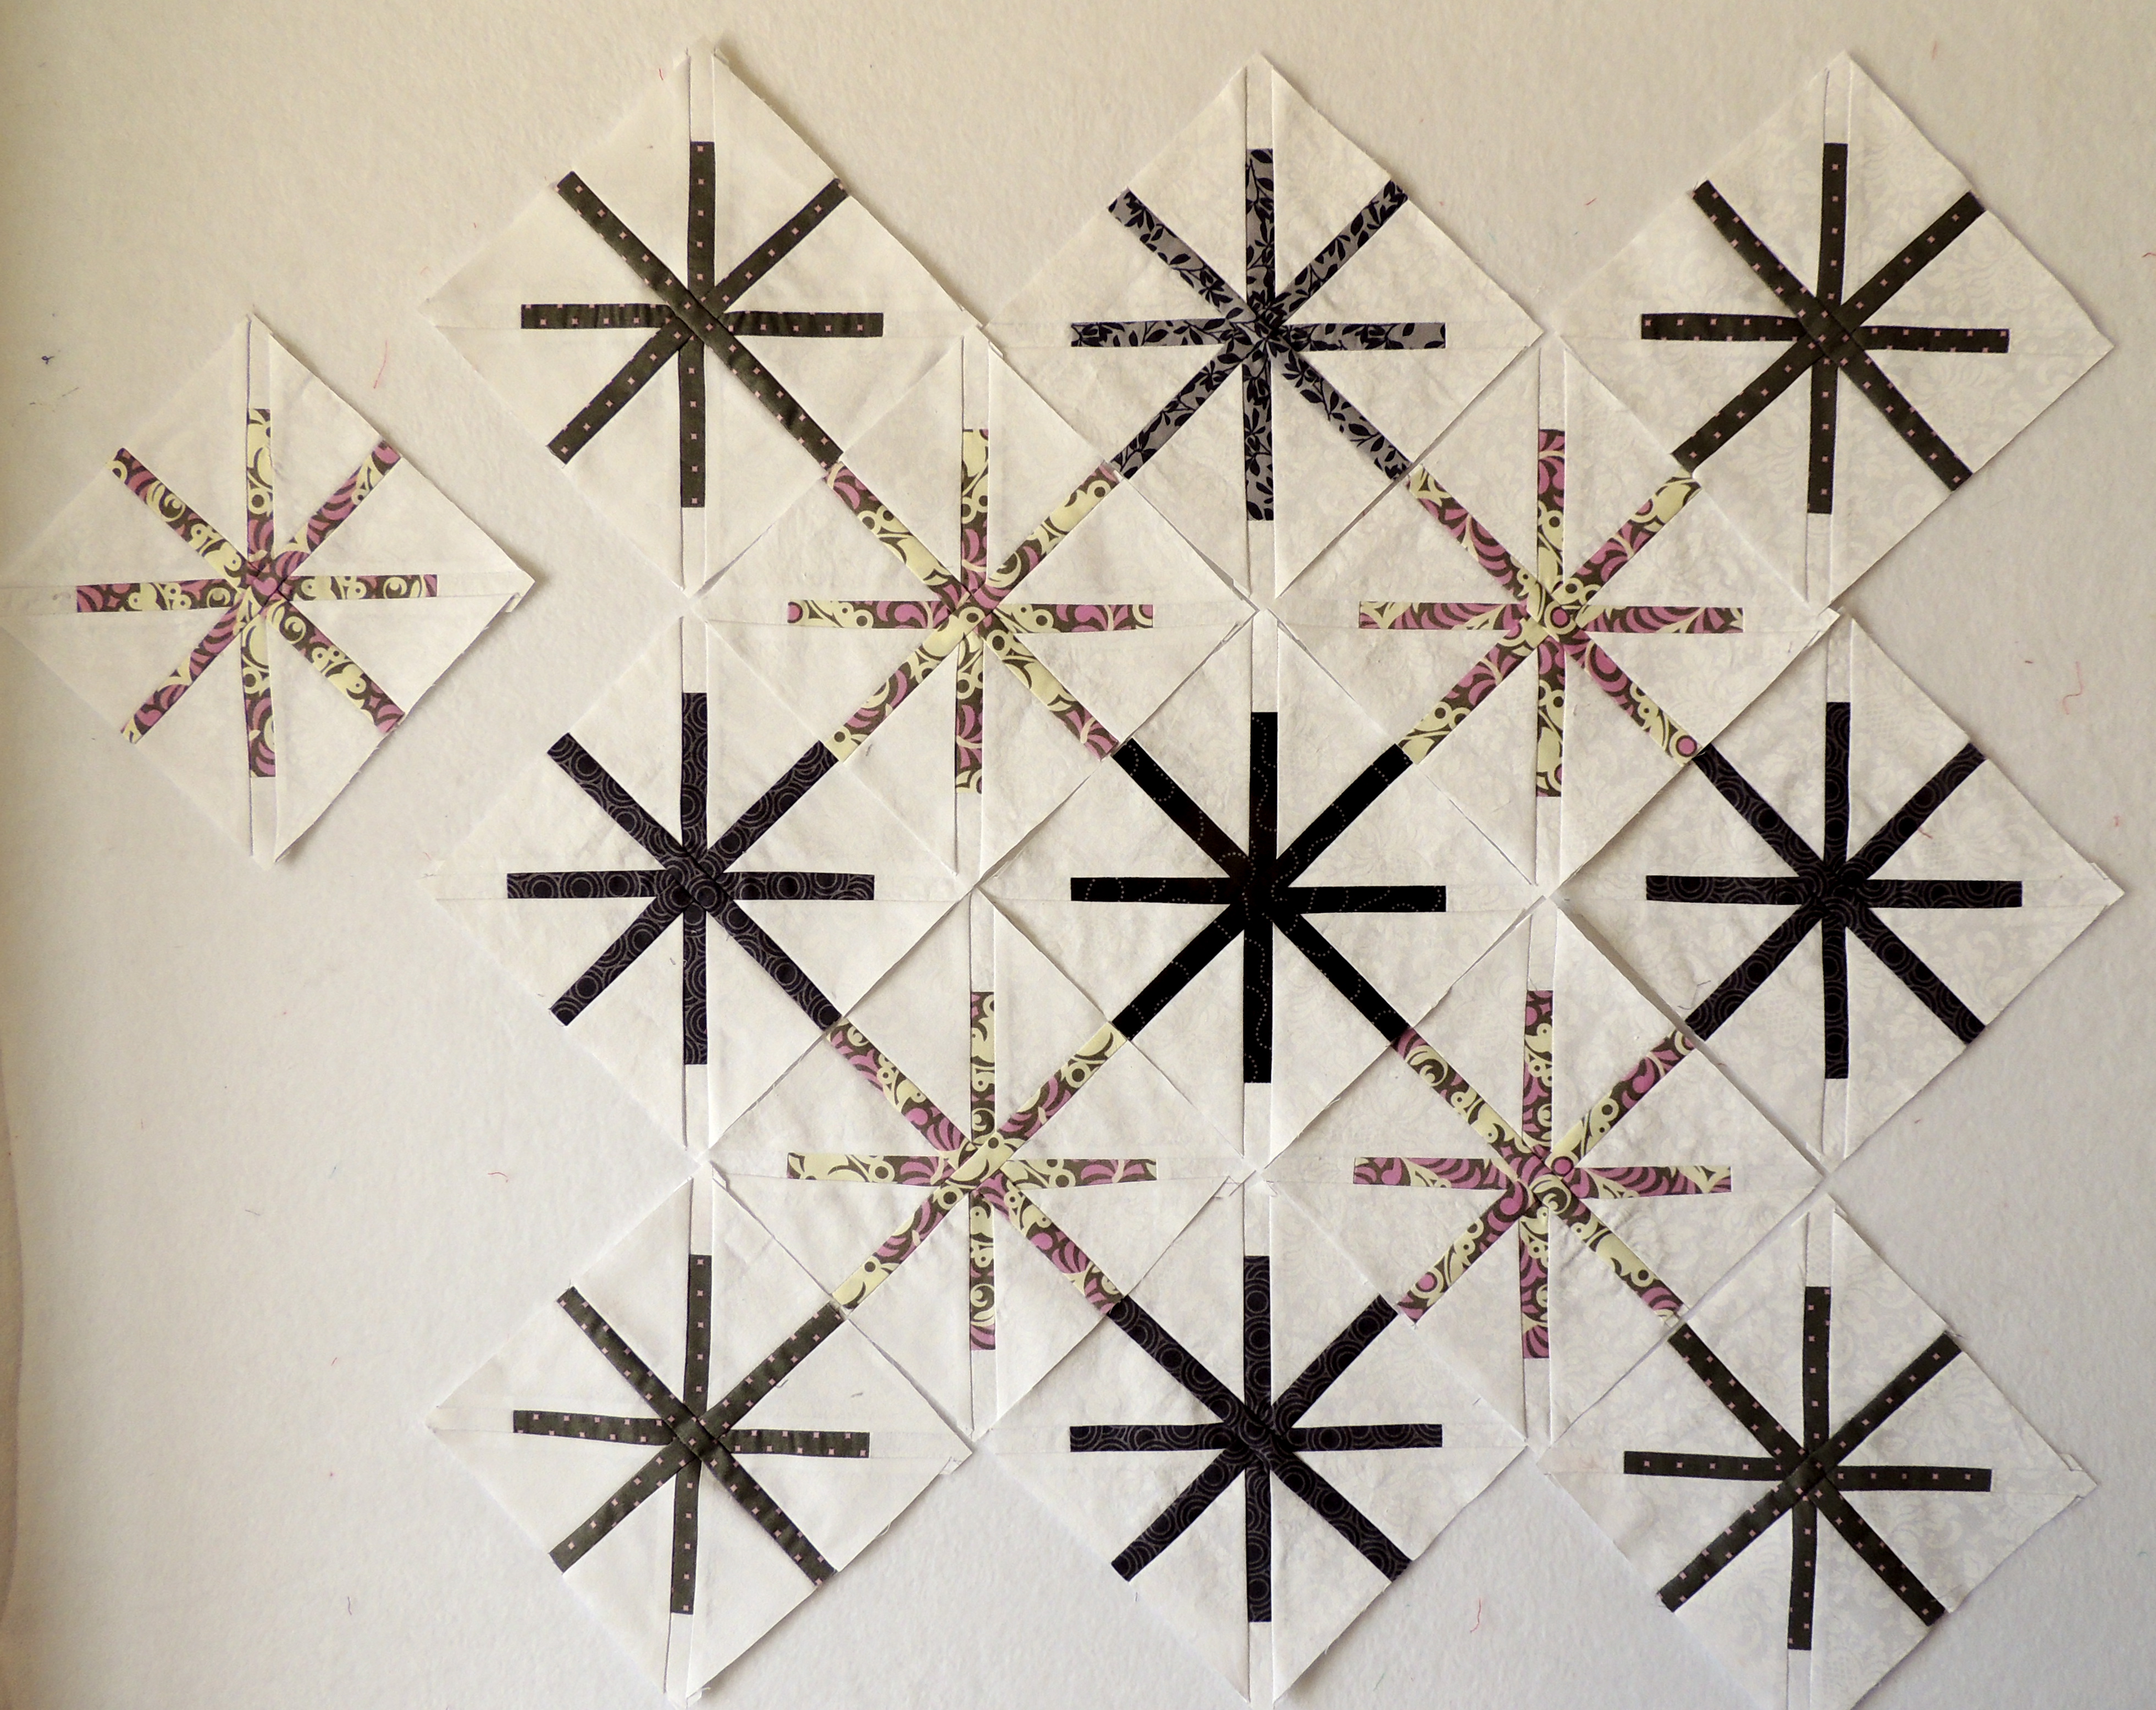 These are my 14 spokes blocks for my Mod-Mod Queen-size Sampler quilt.
As I was making them, I put them up on the wall in an on-point orientation. Have you noticed that the spokes within the block looks the same whether they are in a straight set or on-point? The only difference is whether the touching spokes are vertical and horizontal or on the diagonal.
If you look REALLY close, you might also notice that my set of 14 blocks has that one of these blocks is not like the other quality–in the one on the far left in the photo, I goofed and used the white-on-white background wrong-side-up. (I still haven’t decided if I will re-make the block or decide that it’s very hard to see the difference, even in real life.
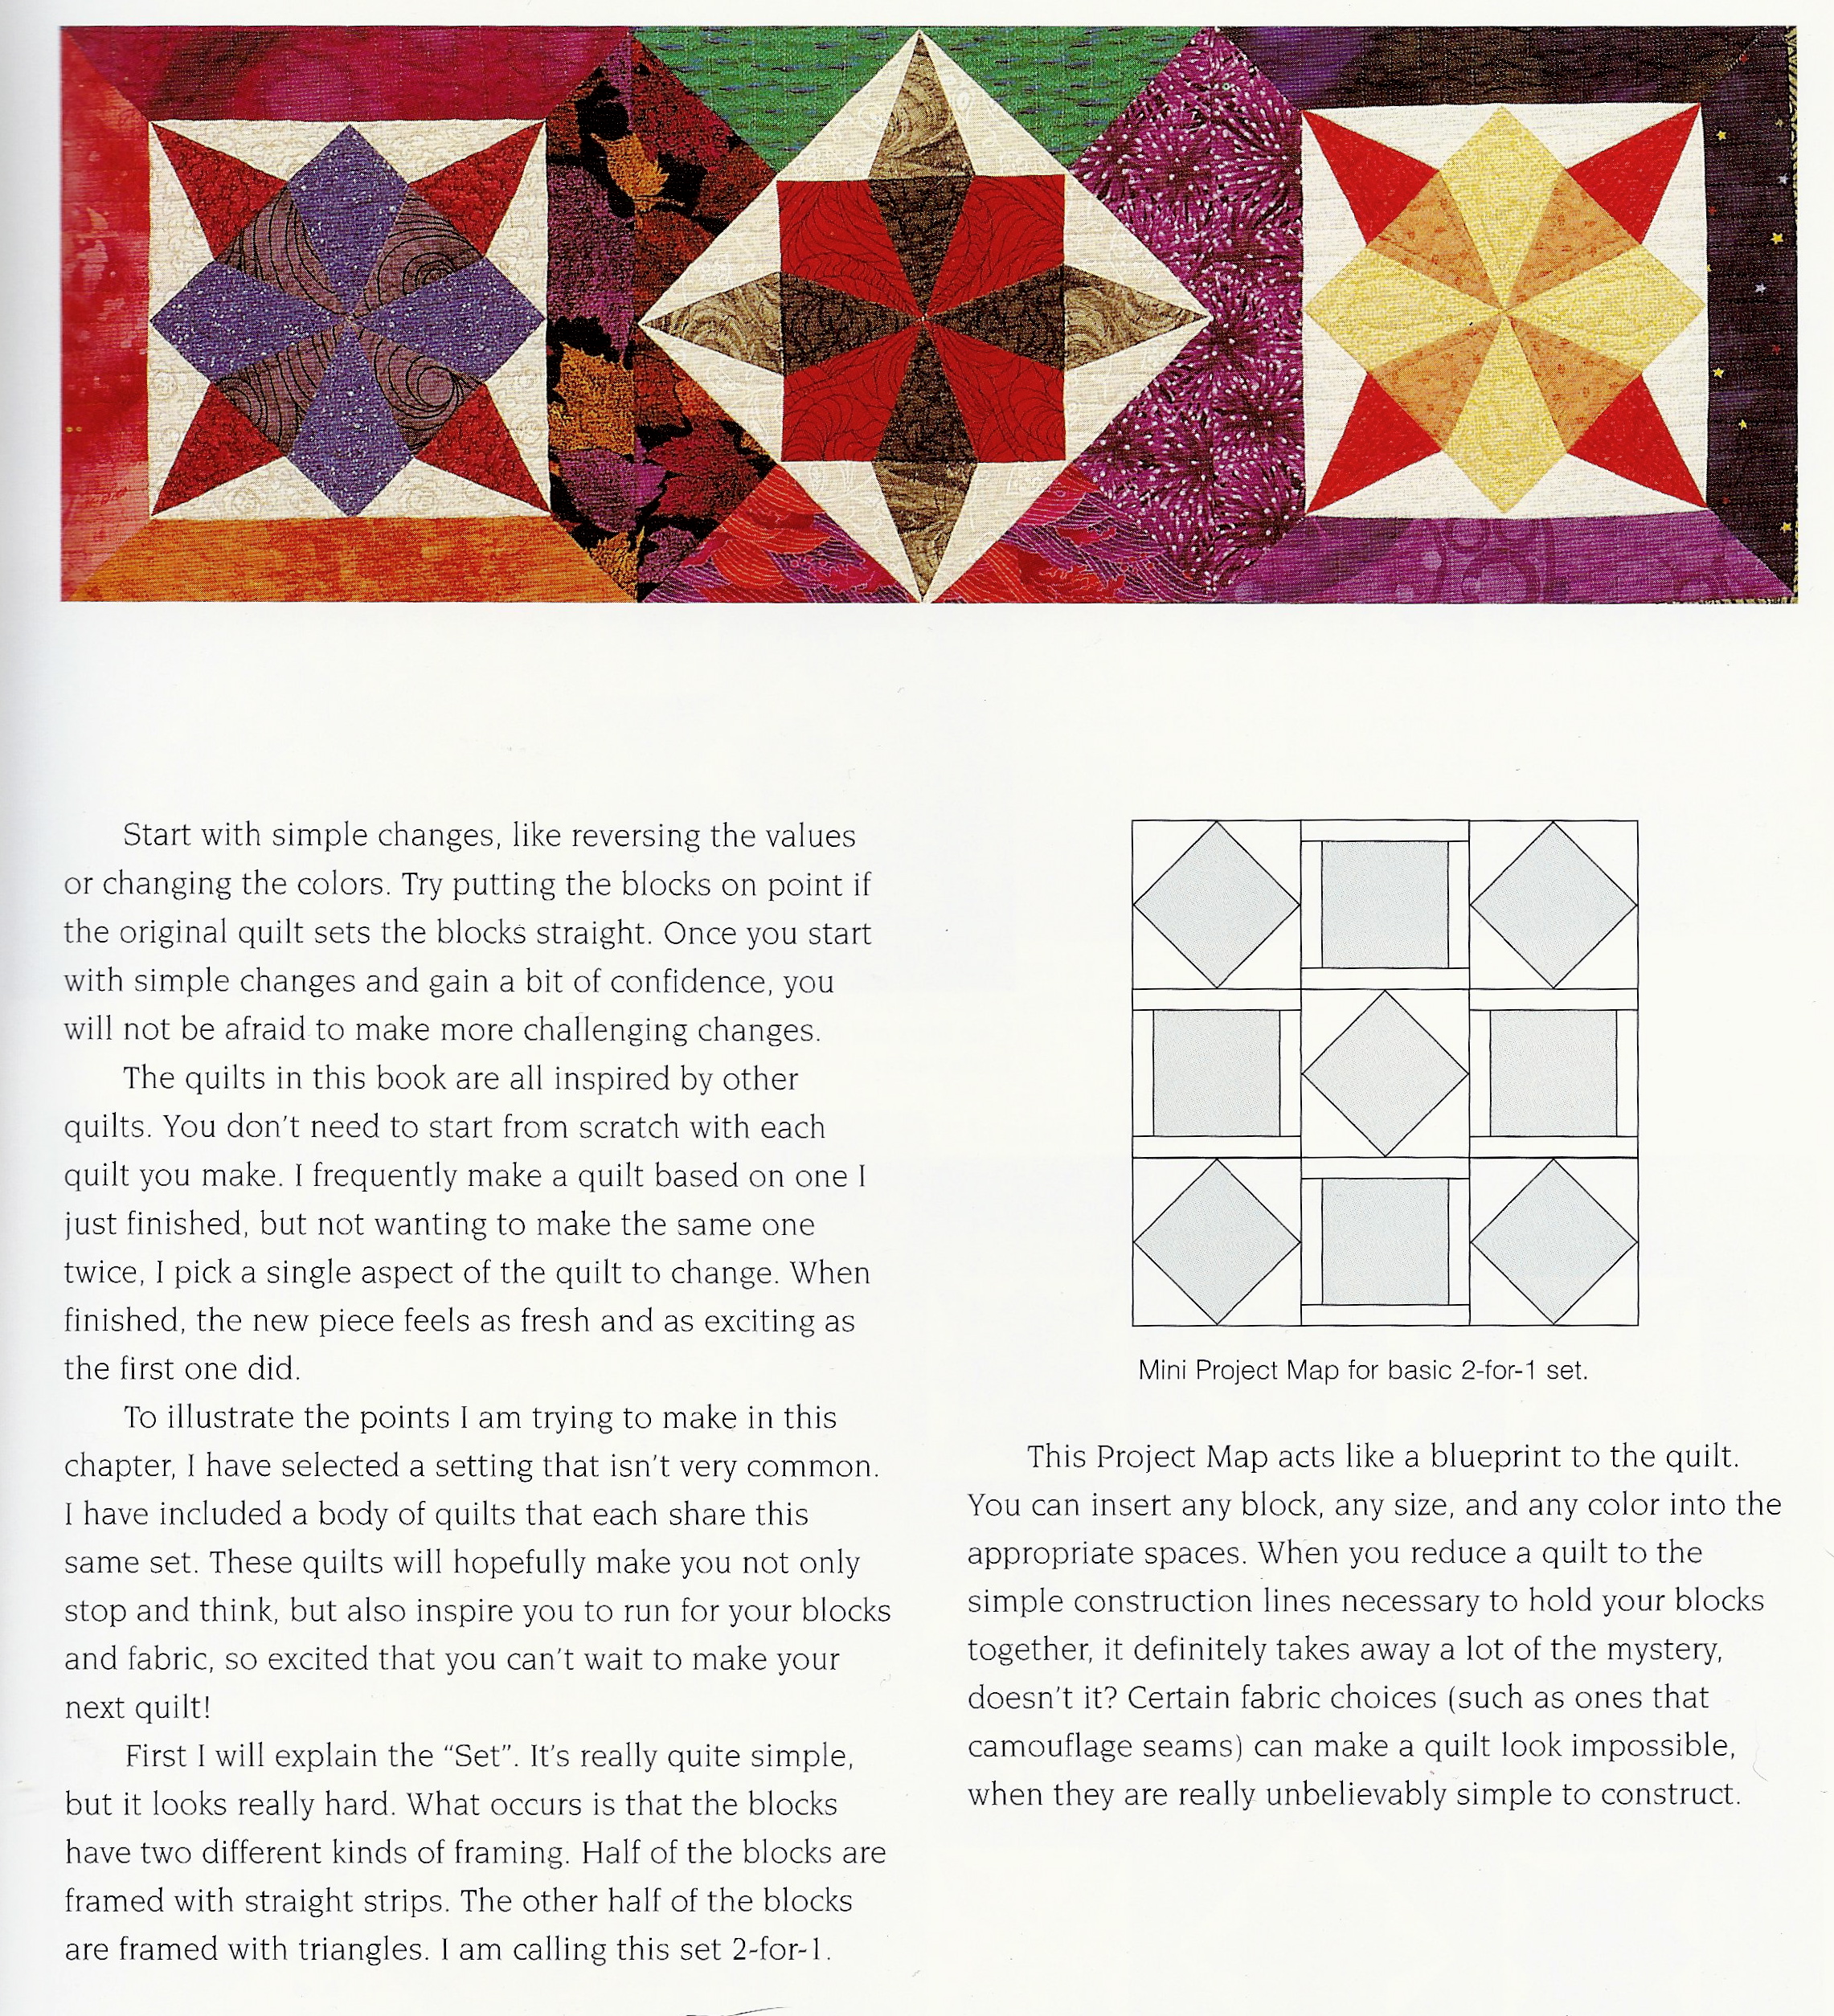
If you are one of the lucky winners this month, perhaps you will consider an on-point setting for your blocks. These blocks would also be a good candidate for what Sharyn Craig calls a 2-for-1 set, in which blocks are alternately put on point or surrounded by a frame. Here’s a peek at the page that shows an example and the project map for how it’s done.
If you love to make sampler blocks or swap blocks … or make blocks for the Block Lotto, but feel stuck when it comes to figuring out how to put them into a quilt, I recommend this book and another from Sharyn Craig ,Great Sets: 7 Roadmaps to Spectacular Quilts. These links go to Amazon, but you may find them in your community or guild library. They’re classics that have held up well and, years later, are still relevant (and filled with good ideas.
Updated to add a photo of the January-through-July blocks on my design wall. I do this each month when my blocks are made … I only just noticed a mistake in one of the groups of four of the diagonal bars … from May. Sigh …

Nice surprise in the mail
I received a lovely surprise package in the mail today from Karen Nicole. Last year I re-mailed some blocks for Karen that should have gone to Norway instead of to me in New Zealand. Karen sent me a lovely piece of South African fabric to say thank you. It is a lovely soft green neutral piece and I am sure it will be put to good use in the future.
Thank you very much Karen – I really wasn’t expecting it.
Variations
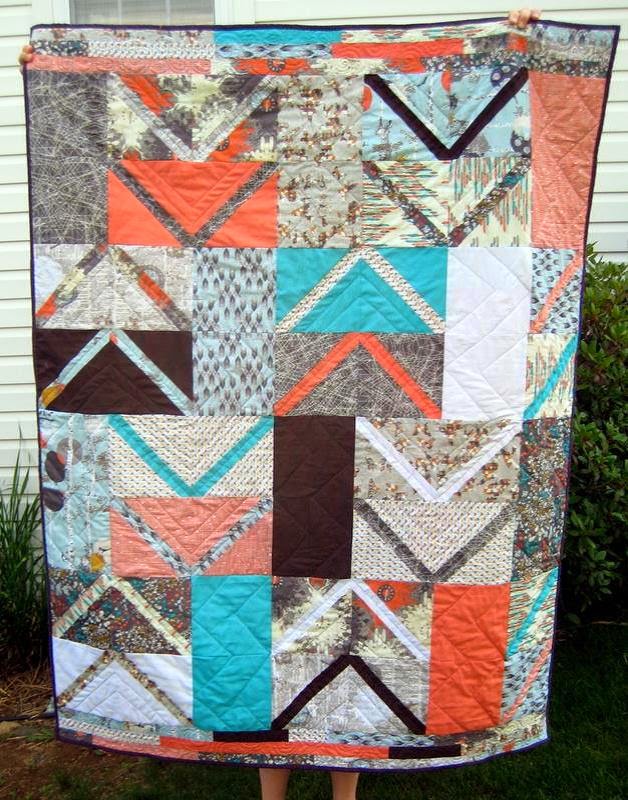 While I was catching up on blog-reading this weekend, I came across the Point Me quilt tutorial that Jessica created for Julie’s Intrepid thread. You can find the tutorial here:
If you have made this month’s block (or even just looked at the directions), you already know how these blocks are constructed–a diagonal cut through a background square and an inserted contrasting fabric. Pairs of blocks are arranged to form point shapes.
So that led me to ask that “What if” question.
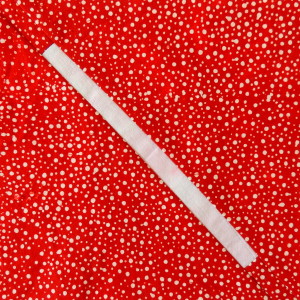
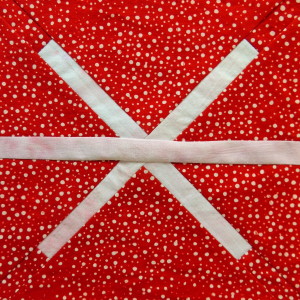
What if you made spokes blocks with only one, two of three of the spokes added? Those blocks might look something like the blocks below … which are really in-progress photos taken from the red monochrome blocks I made for my Rainbow Scraps Challenge version of the Mod-Mod Sampler.
 |
 |
 |
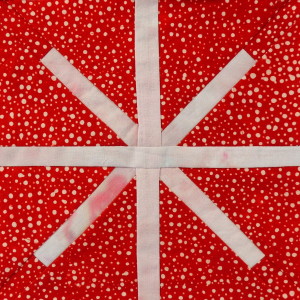 |
I kind of like those skinny X’s and could see more of those in my future.
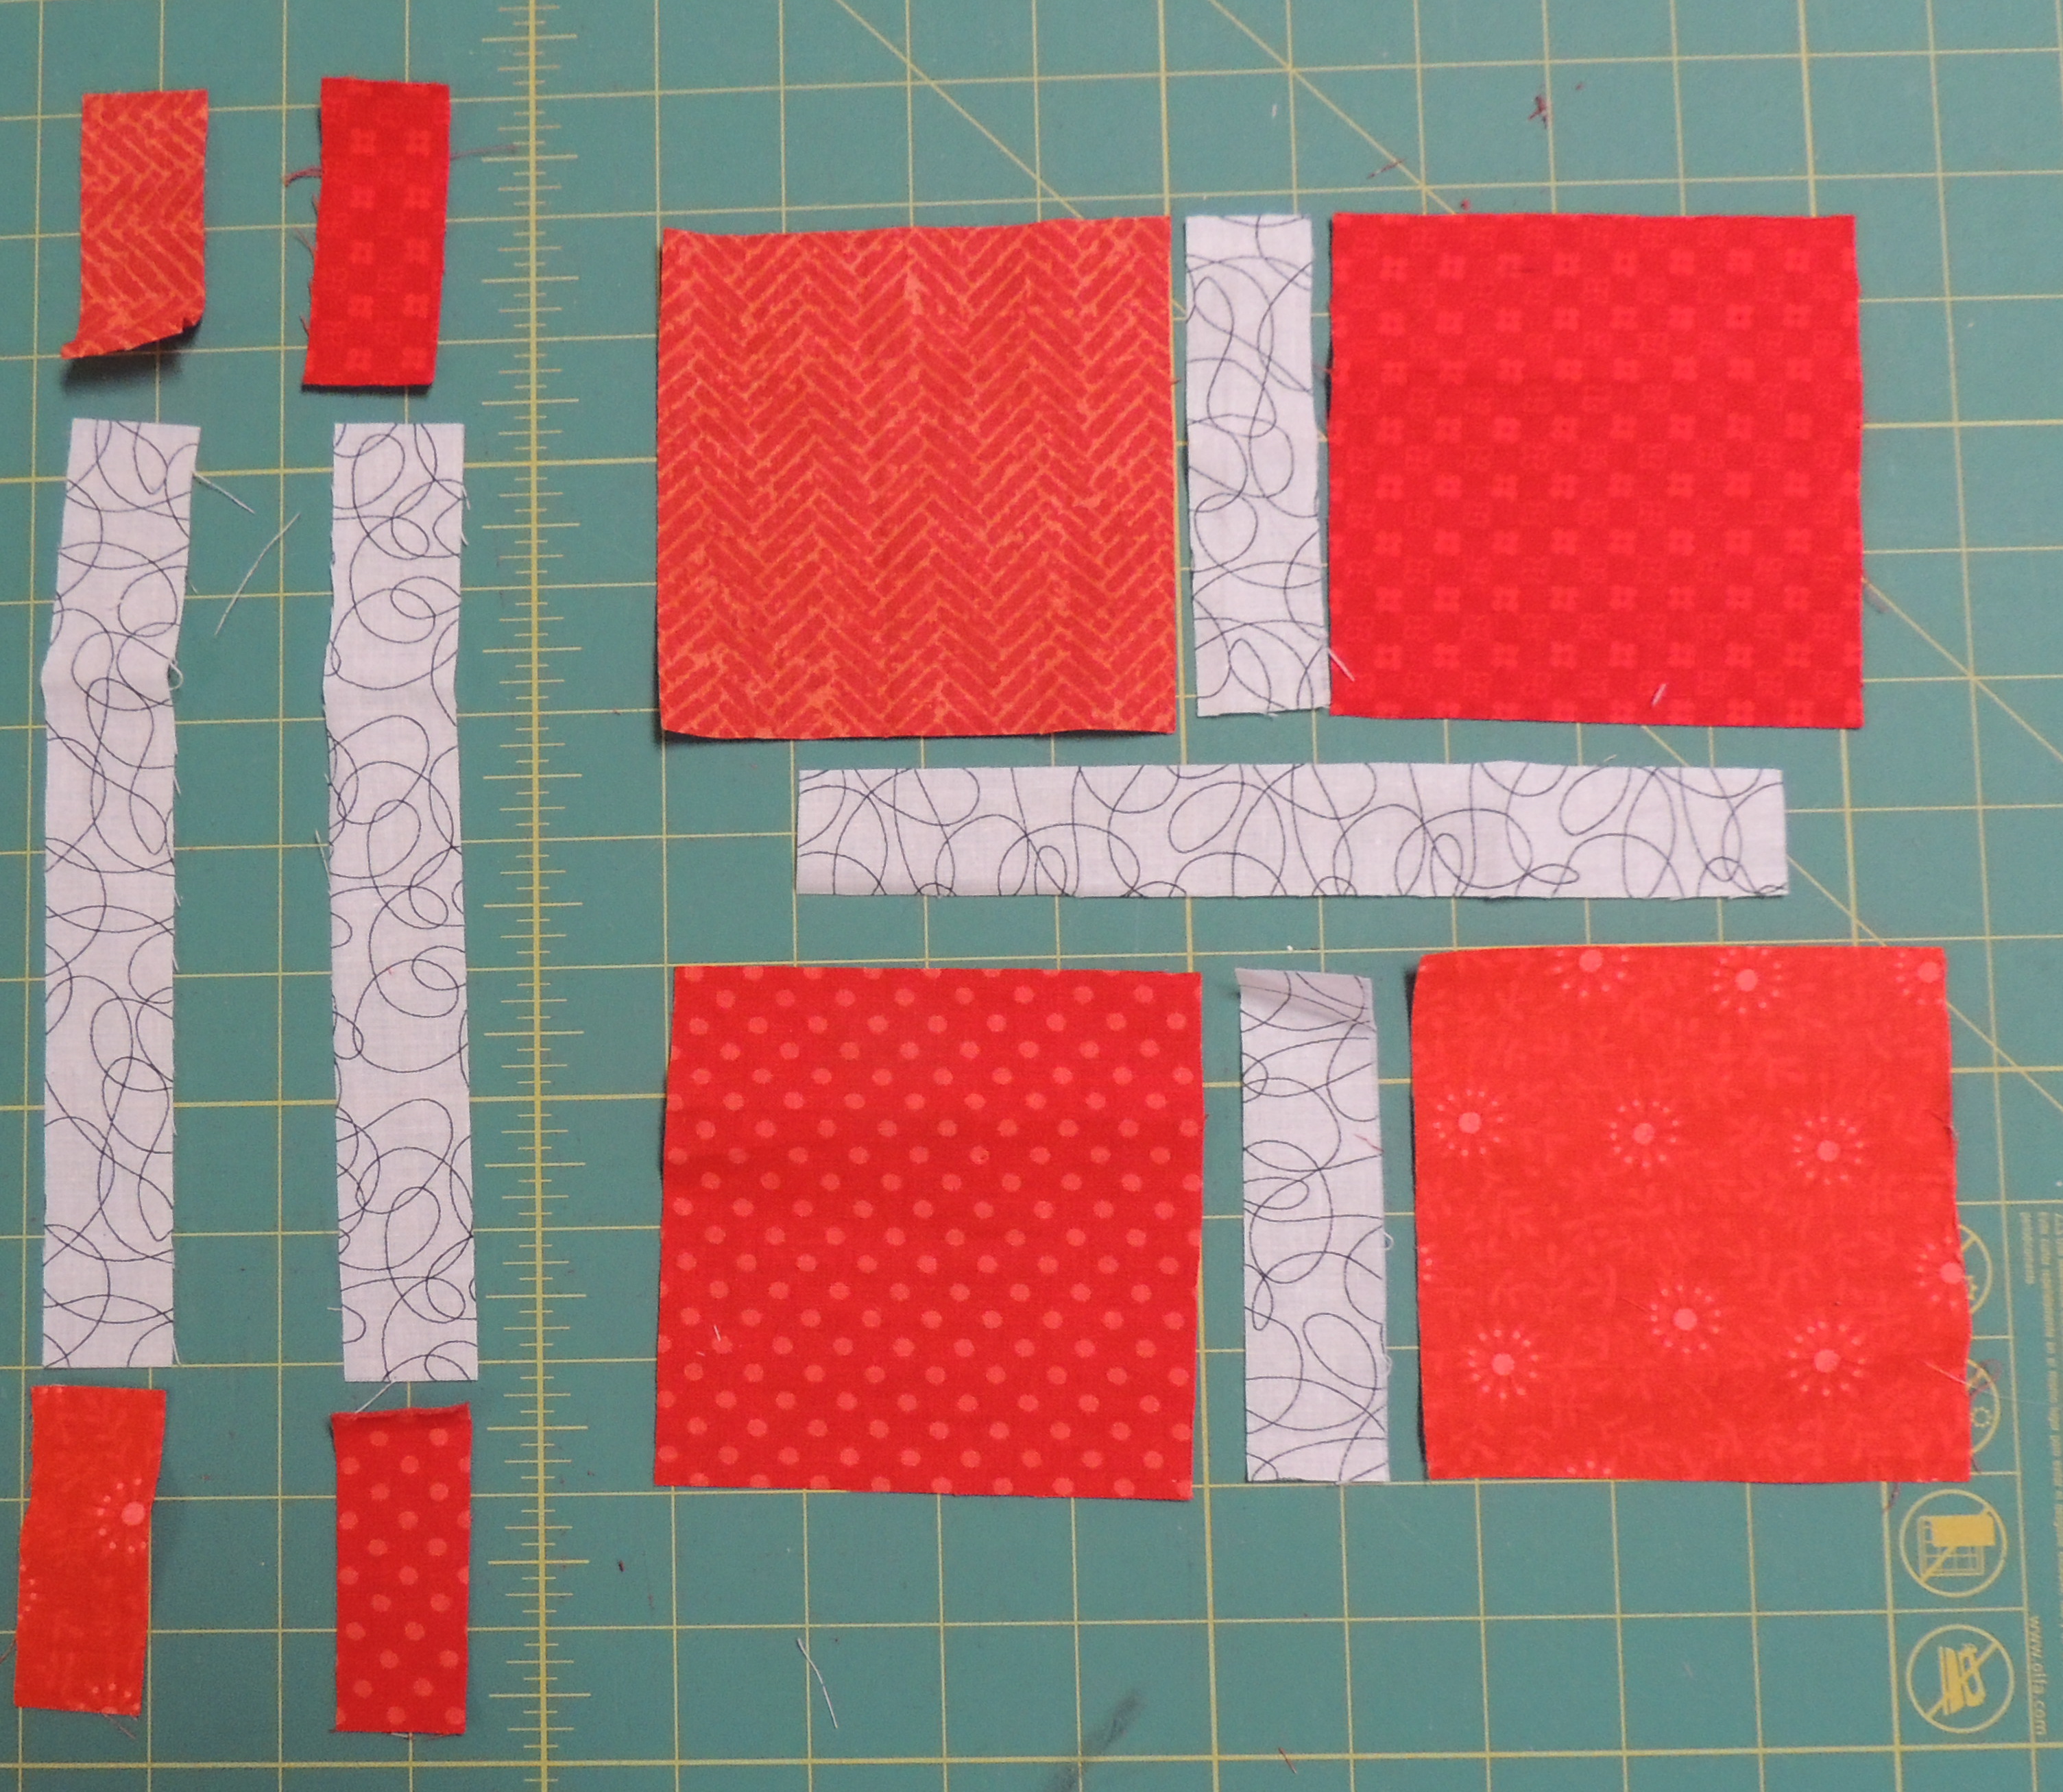
In that way that playing around with an idea can lead to another idea … I also made a couple of blocks that have scrappy 4-patches as the background.
 |
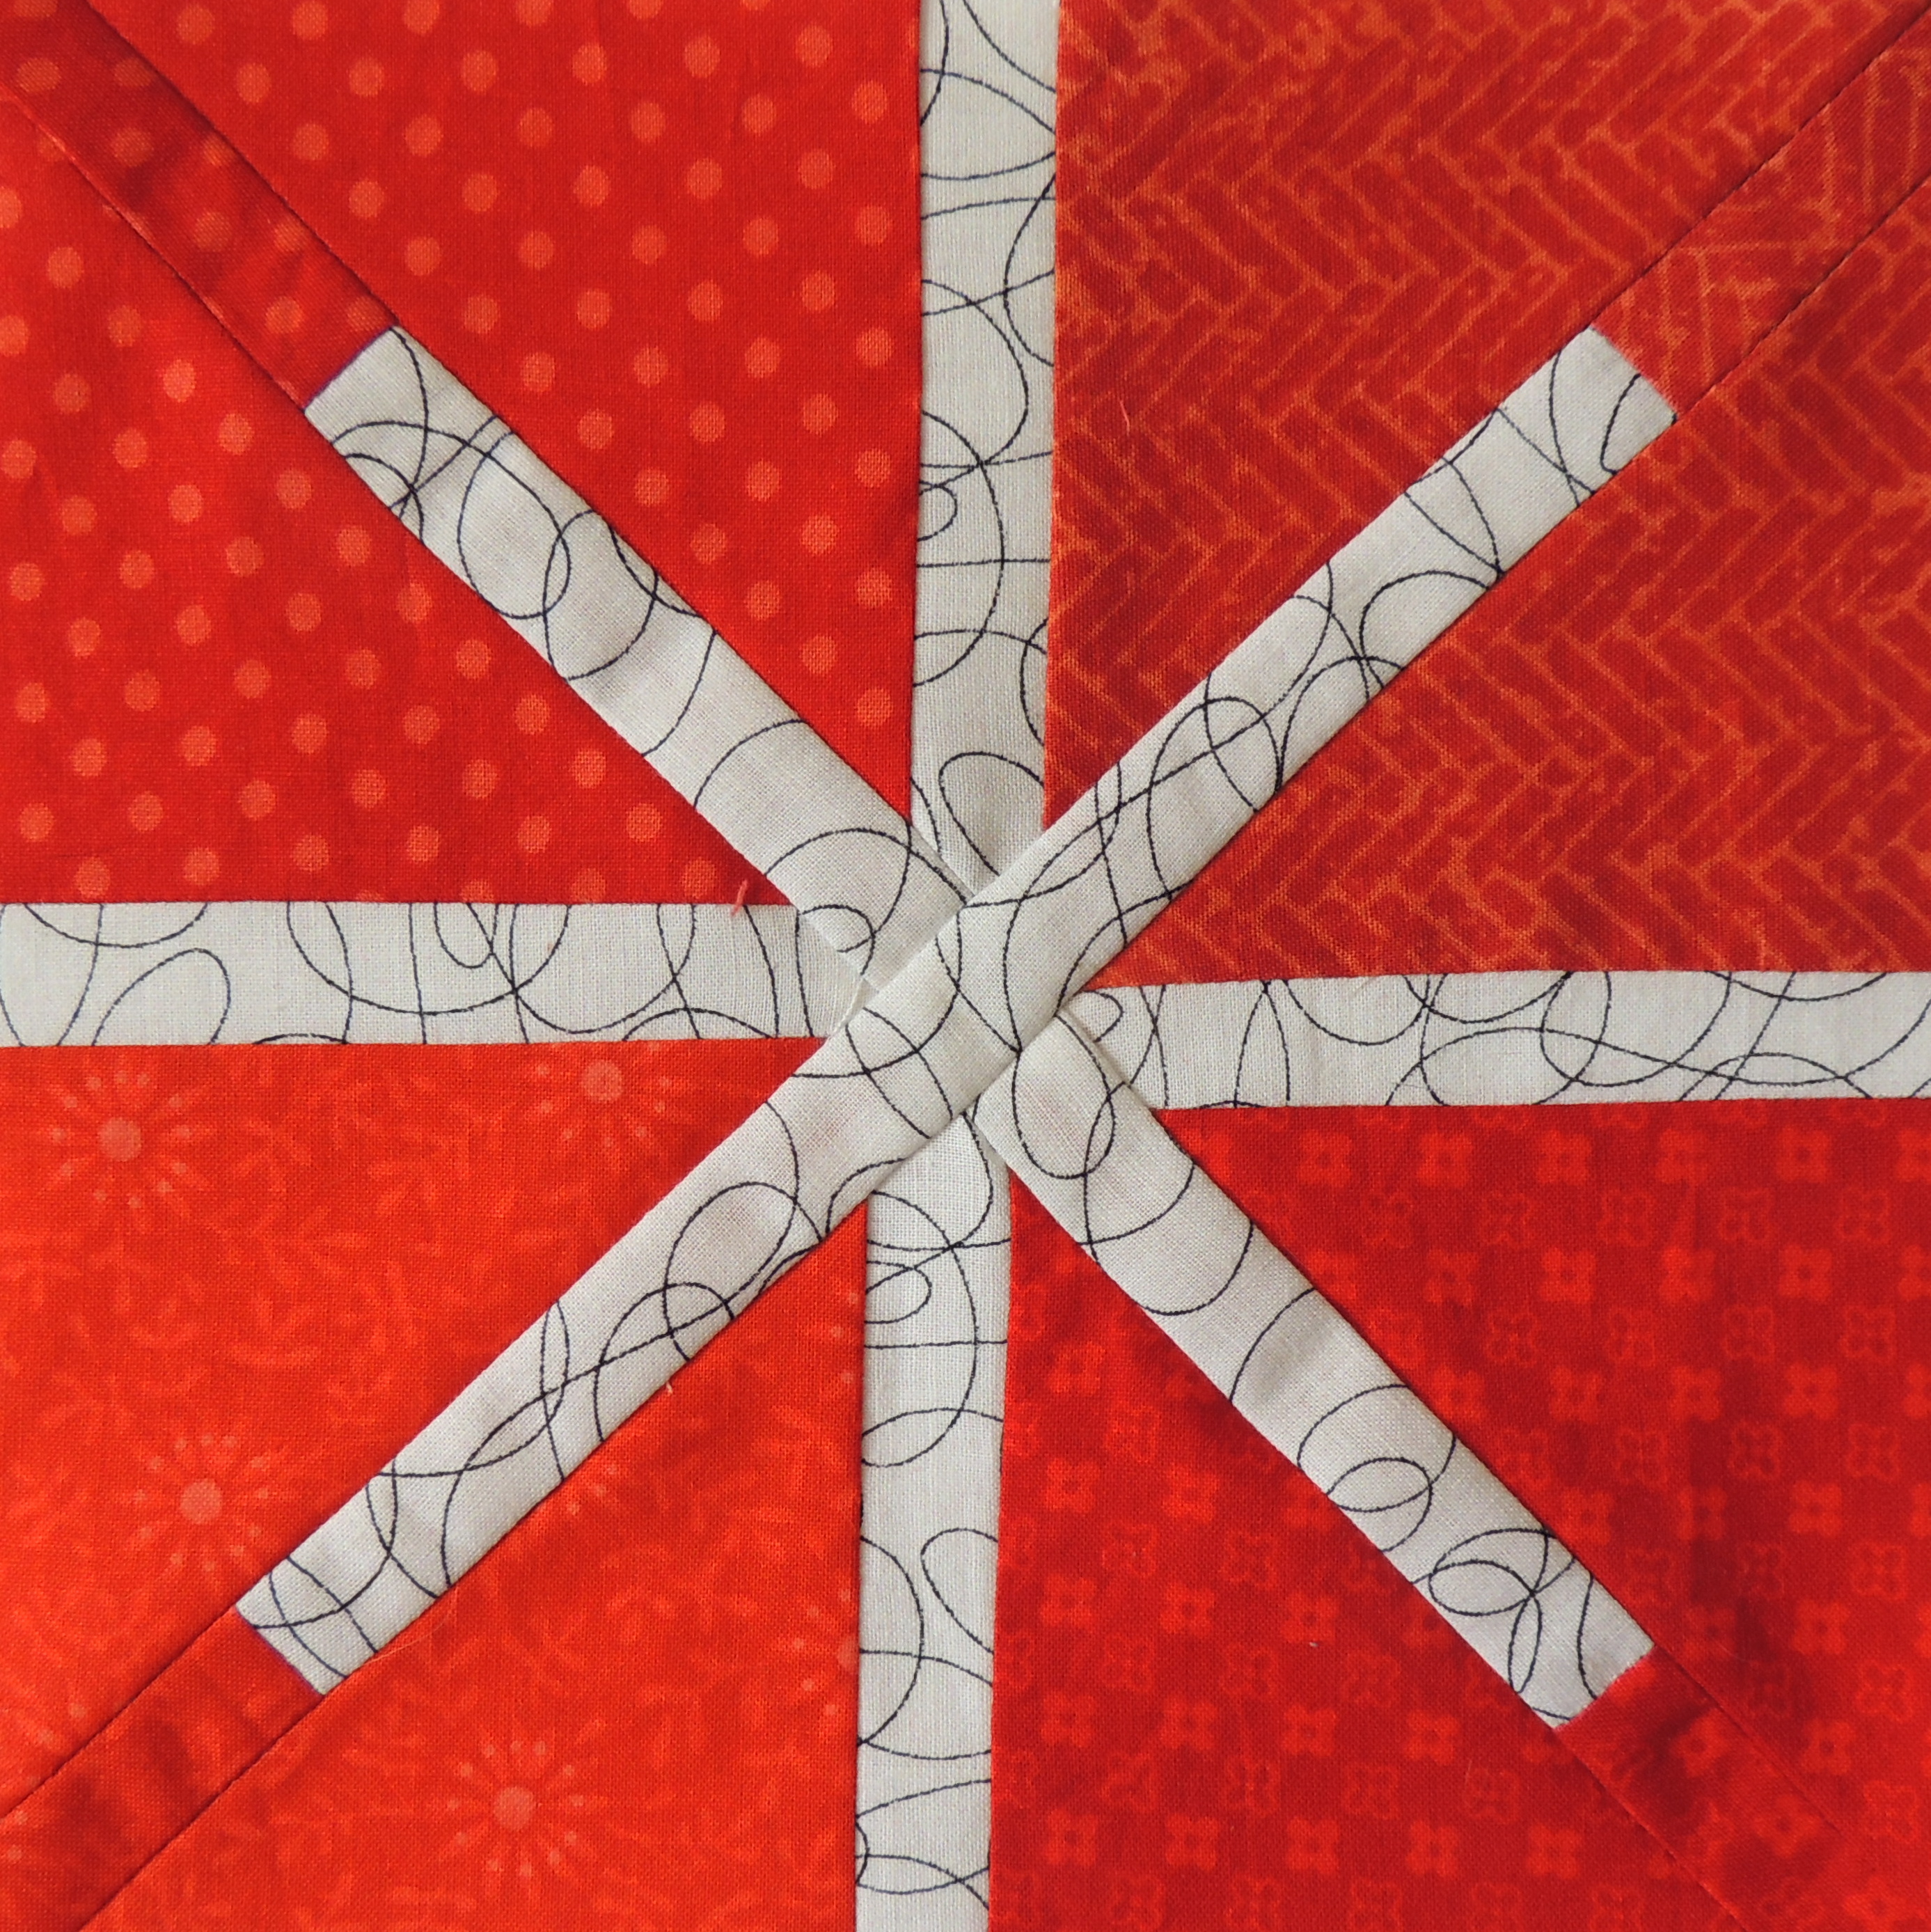 |
Because I was starting with four squares of background, I assembled it by adding the horizontal and vertical insertions, THEN made the diagonal cuts and insertions.
Received blocks and cute surprise from Jude
I have received blocks and a cute little knitted hat for my baby boy from Jude. Thank you so much.The blocks look beautiful. I can’t wait for it to get colder down here in south Georgia to be able to use the little hat. I’m also looking forward to the rest of the blocks to get here so I can start laying out a baby quilt. I’m very excited to see the colors I get.
Tips for Resizing Patterns for the Star Block Challenge
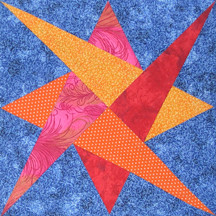
 Today I made my block for the Star Challenge. I remembered that my original idea was to make a block from the sketch that would become last month’s Sunrise block and now that I had a pattern, it was pretty easy to do.
For my block, I printed the foundations at 80% and created a sun with a diameter of 8 inches. I also reduced the amount of background around the block for my 9 inch block. Here are a full-sized block and my resized block for the challenge.
The sun IS a star after all 🙂
Note that I haven’t yet SIGNED my block. I will do that after I’ve removed the foundation from the back, trimmed the seams around the small center circle and pressed everything perfectly flat. If you are making a block for this challenge, don’t forget to sign it before you send it off to Houston.
Resizing foundation patterns is as easy as doing the math to figure out how much they need to be shrunk (or enlarged.)
 Divide the size you want by the size of the paper foundation pattern you want to use and you’ll get the percentage to use to shrink or enlarge the pattern when you print it.
If you wanted to resize the Laced Star block we made in 2003, you would divide 9 (the size you want) by 8 (the size of the block in the pattern) to get 1.125 or 112.5 % the percentage you would use when you printed the foundation pattern.
Resizing pieced patterns is a little more complex, but still easily accomplished. You need to look at the block, identify the number of elements in the grid and recalculate the components based on the size of the block you want.
 If you wanted to make an Ohio Star block, like this 12-inch one we made in 2007, you would see that it’s made as a 3-by-3 grid. In the original 12-inch block each component is 1/3 the size of the block or 4 inches. If you wanted to make a 9-inch version, each component would be 3 inches (finished size).
So, instead of cutting 4 1/2 inch squares (for the center and corners) and 5 1/4 inch squares to use to make the quarter square triangles (QST), you’d cut 3 1/2 inch squares and 4 1/4 inch squares.
If you want to resize a traditionally pieced block based on a 4 by 4 grid, like my go-to block, the Sawtooth Star, then your new components are 1/4 of the target size, or 2 1/4 inches (finished size).
 For a 9-inch block, you would cut 2 3/4 inch squares for the corner, a 5 inch square for the center and, using your favorite method for making flying geese units with a finished size of 2 1/4 by 4 1/2 inches.
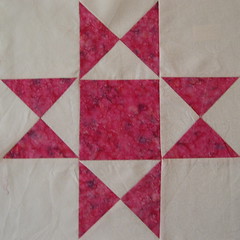
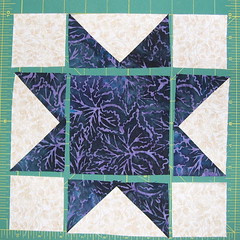
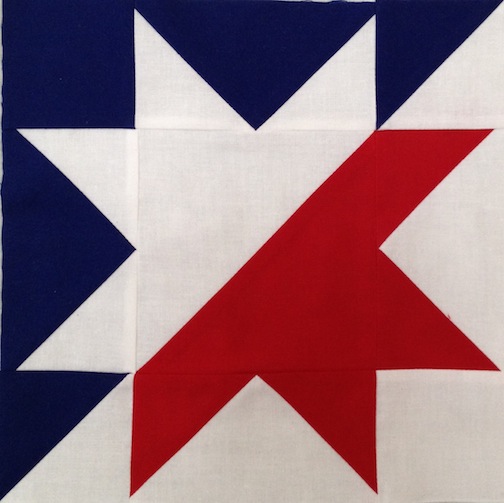
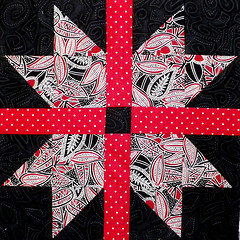
Of course, some of the star blocks we made have made for the lotto were 9 inch blocks … like the Split Star, Star Crossed and the 5-pointed star from 2011.
 |
 |
 |
If you need help resizing one of my block patterns or others, let me know. Believe it or not, I think it’s kind of fun …