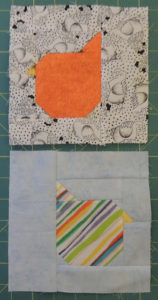
Here a Chick (block), There a Chick (block) …
 For those looking for the block directions for the chicks in the Old MacDonald’s Mystery Sampler layout … here they are.
These are traditionally pieced and although you start with quite a few pieces–some which are quite small, they go together quite quickly.
All the triangle shapes are added using the technique I usually call “Snowball corners” (somehow appropriate because snow is starting to fall in Santa Fe). You start with a small triangle and a larger shape to which you want to add the triangle.
- Align the two pieces, right sides together, edges aligned along the outside edges.
- Draw a line across the diagonal of the small square (or eyeball it) and sew on the line
- Trim the excess fabric and press the seam
Cutting Fabrics
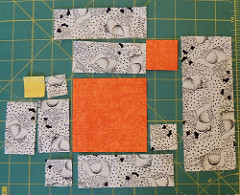
For each block, you will need to cut:
Sewing the Block
Decide if your chick will face left or right.
Add snowball corners as follows:
 Add 1 1/4 inch squares of background to the bottom (both sides) of 3 1/2 inch square
- Add 1 inch square of background to the top of the 3 1/2 inch sure on the side your chick will be facing.
- Add 1 1/2 inch square of Chick fabric to the end of the 1 1/2 inch x 3 1/2 inch rectangle on the end in the opposite direction your chick will be facing.
- Add the 1-inch square of background to the end of a 1 1/2 x 2 1/2 inch rectangle. The rectangle will have a vertical orientation. Add the snowball corner on the lower “inside” corner ( it should end up next to the chick’s head, not the outside of the block).
Trim and press all the seams and then lay out the block to make sure it’s all correct.
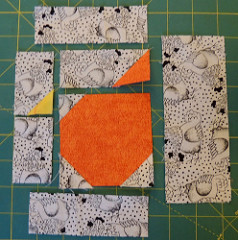
Sew it together from the inside out:
- Sew the two units with Chick fabric together.
- Add the other short rectangle to the one with the beak.
- Sew the beak to the body of the chick
- Sew the long rectangles to the top and bottom of what you have so far.
- Add the large rectangle to the non-beak side of the chick
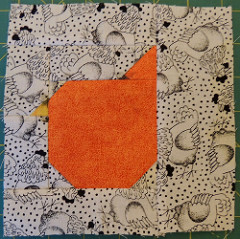
You’re done.


Thank you so much!